
Drones
Start Your Flying Journey with a Drone Kit

Aug
Drones are cool flying machines that many people enjoy in today’s generation. Whether you’re a student, a hobbyist, or just someone who wants to try something new, a drone kit is the perfect way to begin. It gives you the chance to build your drone from the ground up.
Different from purchasing a pre-made drone, a drone kit allows you to understand and learn how things work. It is not only entertaining and informative, but it is also eco-friendly if you choose the right components.
Drone construction is a hobby that many people of all ages will enjoy since it combines academic disciplines with culture and an outdoor pastime. Therefore, let us embark on an exploration of this extraordinary eco-friendly flying alternative!
How to Build a Drone Kit?
It’s common to wonder: how to construct a drone? No need to panic; in reality, it’s much simpler than it sounds. The approach is sequential, making it easily executable with some basic tools. The only requirements are a little bit of excitement and patience. Your drone will then be ready for flight.

Let’s get started; I will demonstrate each step.
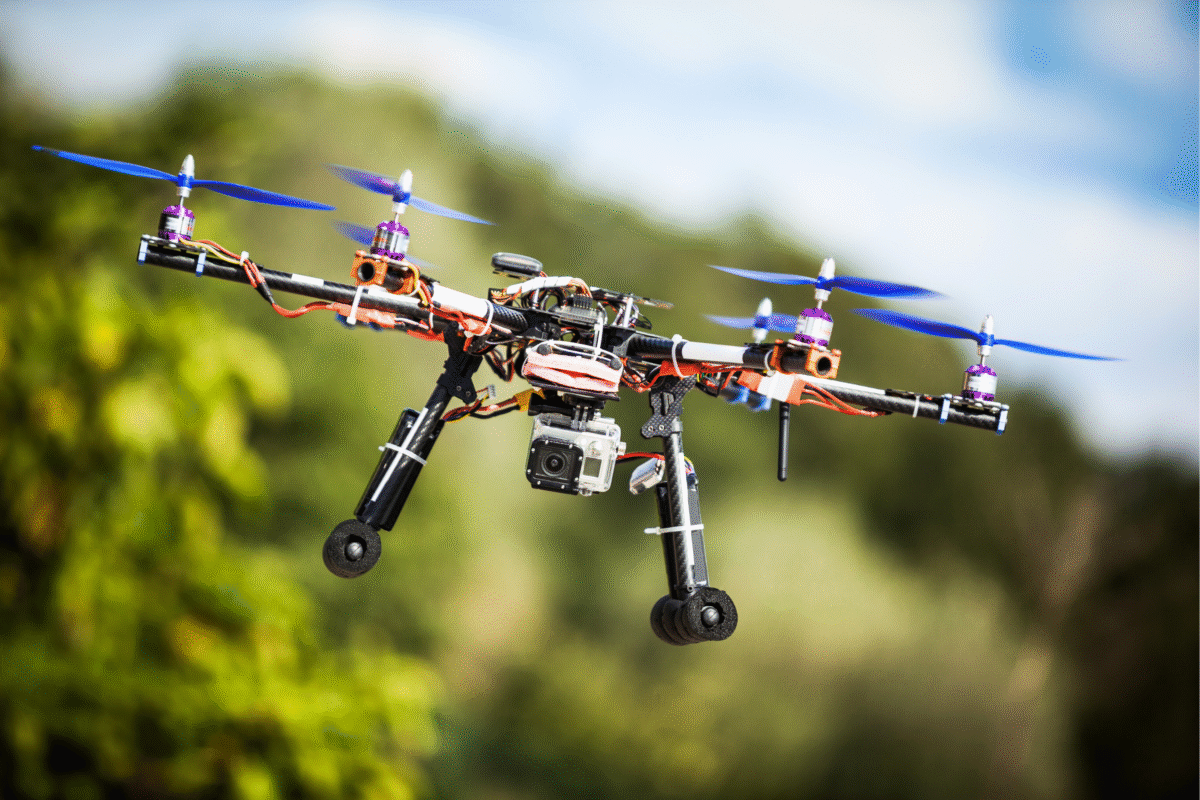
Step 1: Understand what is included in a Kit
- Frame: This refers to the drone’s body, which covers all its components.
- Motors: These rotate and assist with lifting the drone into the air.
- Propellers: Small spinning blades that provide lift to the drone.
- ESCs: These adjust the rotation speed of the motors.
- Flight Controller: Acts as a brain for the drone.
- Battery: Supply power to the drone, and select an environmentally friendly rechargeable battery.
- Receiver: The Receiver helps to communicate between the drone and the remote control.
- Remote Control: Assists in flying the drone.
- Wires and Plugs: Connect all components.
- Camera (optional): Can be added later for capturing photos and videos.
Some kits come with all these parts. Others let you choose each one yourself. Customisability provides control, enabling you to build a drone that is more eco-friendly.
Step 2: Choose a Strong Frame
The frame is the first thing to build. Pick a light and strong frame. Carbon fiber or recycled plastic are great choices. These are better for nature and still strong enough to protect your drone if it falls.
Step 3: Connect properly to the motors of the propellers
Secure the motors to all parts of the frame using screws. Once that is accomplished, connect the motors to the propellers. Verify that the positions of rotation of the propellers match the required position. Two must spin clockwise while the others spin anticlockwise. This ensures your drone has proper balance while flying.
Step 4: Add the ESCs and the Flight Controller
Each motor connects to one ESC. Fix the battery in the center of the drone to maintain good balance and flight control. Also, please pay attention to the wiring as it must be tidy and secured. Loose wires may stop your drone from flying, so make sure your wiring is perfectly fixed.
Step 5: Join the Receiver and Battery
Select a rechargeable battery. It saves battery consumption power and is better for the environment. Connect the battery to the flight controller and ESCs. Then, connect the radio receiver to the controller so that your remote can communicate with the drone.
Step 6: Use the Software and Calibrate
Like many other devices, drones require specific software for correct and automated functionality. Free programmes like Betaflight help with setting up and troubleshooting your flight control systems. Always calibrate your compass and all relevant sensors to achieve stable hovering.
Step 7: Test Your Kit
Before flying your drone to high altitudes, conduct a test flight. Go to a safe, open space. Stay away from animals, people, and houses. Try a short flight to see if your drone works well. If it wobbles or spins, recheck the motor and propeller directions to ensure they are correct.
Why Choose a Drone Kit, Even a Ready Drone?
Buying a finished drone is fast, but building one gives you more. Here’s why a drone kit is better:
- Learn something new – You understand how drones work.
- Eco-friendly – Choose reusable and green parts.
- Lower cost – Select the parts that fit your budget.
- Custom build – Add a camera or GPS later according to your needs.
- Easy to fix – You know how it works, so you can fix it if needed.
Mistakes to Avoid While Building a Drone Kit
Everyone makes mistakes when learning. Here are some easy steps to watch out for:
- Motors spinning the wrong way.
- Loose or messy wires.
- Skipping the software setup.
- Flying inside or near people.
- Don’t overcharge the battery.
Fly Your Drone the Right Way
Here are simple safety tips to remember:
- Always fly in open places like parks or fields.
- Don’t fly in restricted areas.
- Never fly your drone in restricted areas.
- Always keep the drone within your drone range limits.
Cool and Fun Things You Can Do With a Drone
Once your drone kit is ready and working, there’s lots of fun waiting for you:
- Add a camera and record the sky or nature walks.
- Join drone races with your friends.
- Take pictures of your house, garden, or school from the air.
- Also ready to meet and connect with new flyers.
Drones are not just toys—they’re tools for learning new things, capturing video, and taking photos.
Conclusion:
Starting with a drone kit, make sure it is safe, have fun, and is environmentally friendly when flying. It provides much slimline drone education, starting with building and controlling flying as you tune, troubleshoot, and self-fly.
Promoting eco-conscious flying helps preserve nature. While working on school tasks or projects, trying a new hobby such as drone flying is easier than ever.
So feel free to select any drone kit, and in no time, you will be on eco-responsible flight paths powered by your skills.

Faq’s
1. A box with all the parts needed to build a drone.
2. Let’s you make your flying machine.
3. Great for learning how drones work.
1. No, it’s not hard if you follow these 2 steps.
2. You need patience and some interest.
3. No special skills and knowledge are needed.
1. Small screwdriver.
2. Wire cutter or stripper.
3. Sometimes a soldering tool (only for some kits).
4. Most kits include a guide or manual.
1. Cheaper—you pick parts that fit your budget.
2. You can fix it easily if it breaks.
3. You can choose eco-friendly parts.
4. Can be upgraded later (add camera, GPS, etc.).
1. No, only fly in open and safe places (like parks).
2. Stay away from people, animals, homes, and wires.
3. Always keep your drone within your sight.
4. Follow safety rules to fly safely.